Using Cloudflare Tunnels to Proxy Minecraft Server Traffic (For Free!)
Why
For a while now I’ve been hosting my own Minecraft server at home. Compared to using another free service (for instance, Hypixel or Aternos) my server (even running on one of my old laptops) has much better performance.
I also have the freedom and control to do whatever I want with the server. (like create a map.) I can put my own mods on the server and don’t have to worry about any 3rd party breaking something. (like Hypixel using Paper/Spigot causing some redstone to not work.)
One problem with hosting the server myself is that I’m hosting the server myself. People need to be able to connect to a computer at my home, but giving out my IP address to anyone that wants to play on my server (and the internet as a whole) didn’t really feel like something that I wanted to do.
Paying a little bit of money
To be able to do all the stuff I talk about below you’ll need to have a domain that been onboarded to Cloudflare.
Getting a domain is pretty cheap (only ~$10/year) and you can use it for much more than just this.
Proxying Non-Minecraft Traffic
Proxying HTTP traffic is pretty easy. All we need to do is create and route a tunnel. I’ll show you what I’ve done to proxy my server map.
-
Just head to: https://one.dash.cloudflare.com/ (There may be some onboarding process that you’ll need to do here if you’ve never done anything here before)
-
Then click on tunnels:
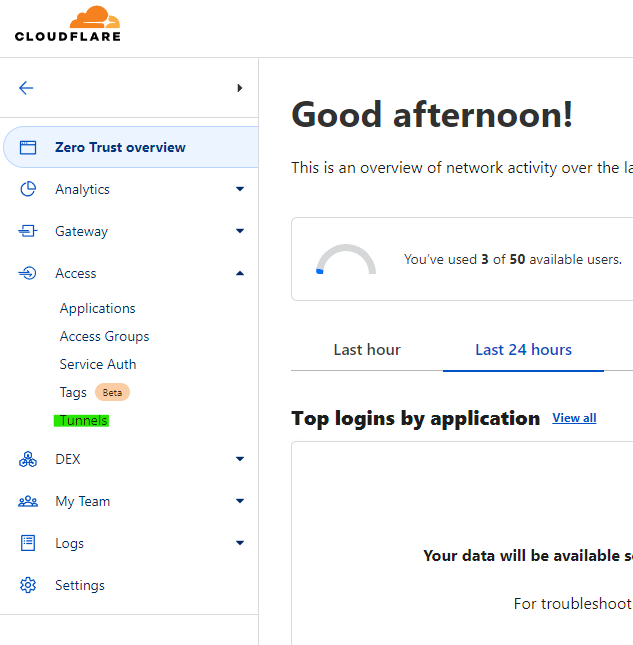
-
We’ll then want to create a new tunnel which we can name whatever we want (note: this name is for your computer/server not just this service)
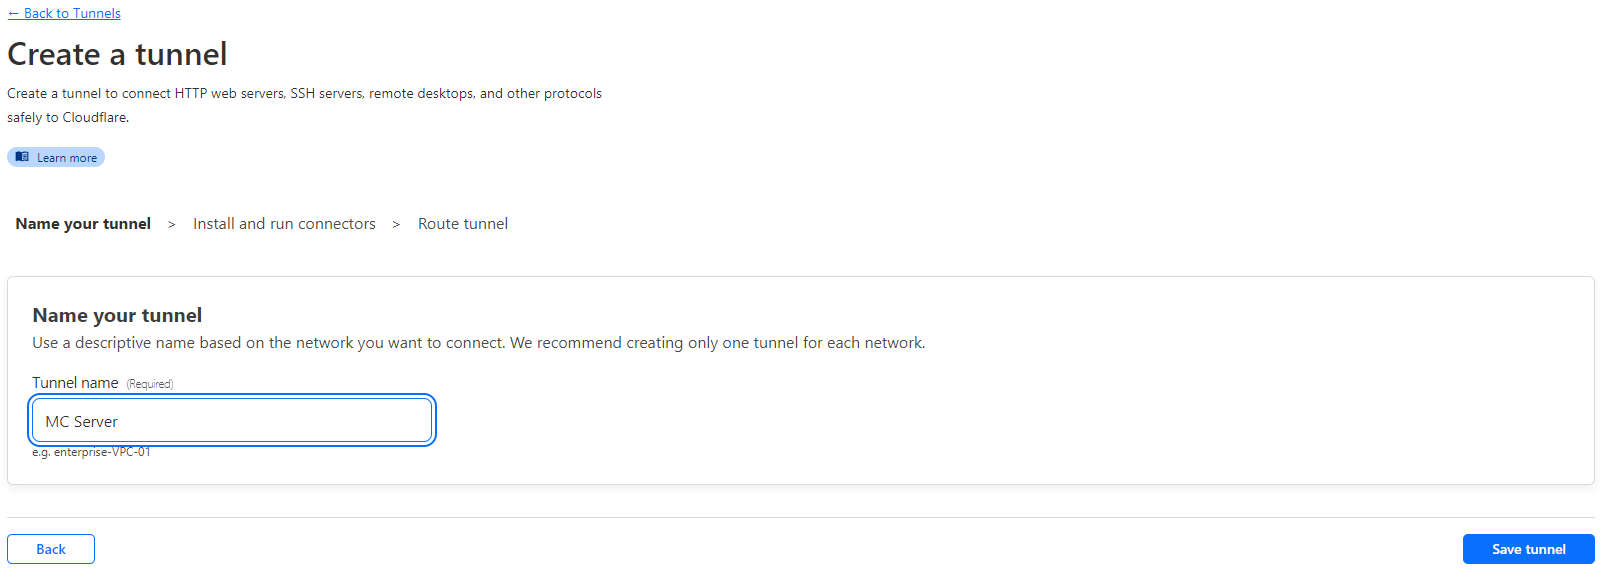
-
Click
Save Tunneland follow the instructions on the next slide on how to install the connector for your specific OS -
On the next page we’ll now configure our hostname for the Dynmap
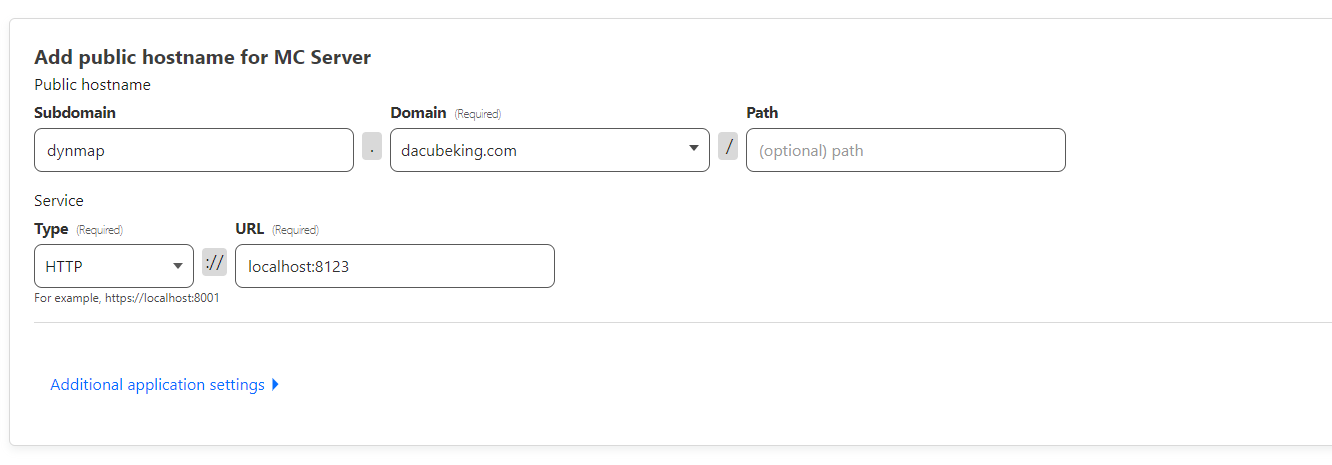
I’m simply placing my map on the dynmap subdomain, but you can put it wherever you want. You’ll want to make the
Type:HTTP* (notHTTPS), and have the IP be what you’d use to open the dynmap on the server itself.*Your browser will still use HTTPS to connect to your map, this is just the protocol the connector (running on your server) will use to access your dynmap. This is why I’m using the IP and Port
localhost:8123since the connector is connecting to something hosted locally (localhost) on port8123(default dynmap port).
And just like that, I can now access my Minecraft map from dynmap.dacubeking.com
Proxying Minecraft Traffic
You may have noticed that cloudflare tunnels can also proxy TCP traffic. This would be perfect except for the fact that Cloudflare tunnels can only proxy TCP if the end-user also has cloudflared installed and runs a command.
There is a mod, however, that you can have your users install that will help them do this, Modflared. It’ll automatically download cloudflared for your users and run the command to connect to your server.
Tunnel setup
-
We’ll be using the same tunnel from above, so if you skipped over that complete everything up till step 4 there.
-
We’ll want to create a new public hostname. Go back to the tunnels section and click on the tunnel you just created. Then press
configure, press thePublic Hostnametab, and press theAdd a public hostnamebutton.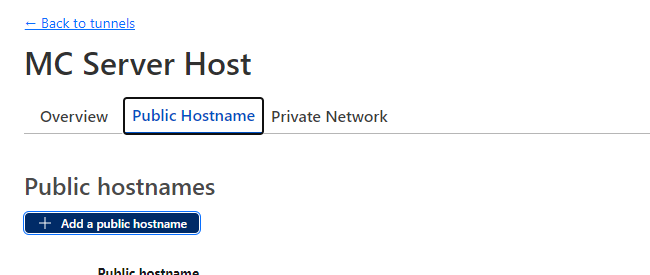
-
Now we’ll set up our hostname for our new TCP tunnel

This is pretty similar to how we set up dynmap, but we’ve changed the
TypetoTCPand changed theURLto be the local address for our Minecraft server (localhost:25565)Note: I’m using
play2instead ofplayso that I can run a fake server on theplaysubdomain that instructs users to download Modflared. Modflared is able to connect to a server on a different ip address than the one the user inputs to allow for this.Now we’ll add a TXT DNS record so Modflared knows to create a tunnel for our server.
-
From the Cloudflare dashboard click on the domain you’re using for your server. Then click on the
DNSfrom the left-hand menu tab and press theAdd recordbutton.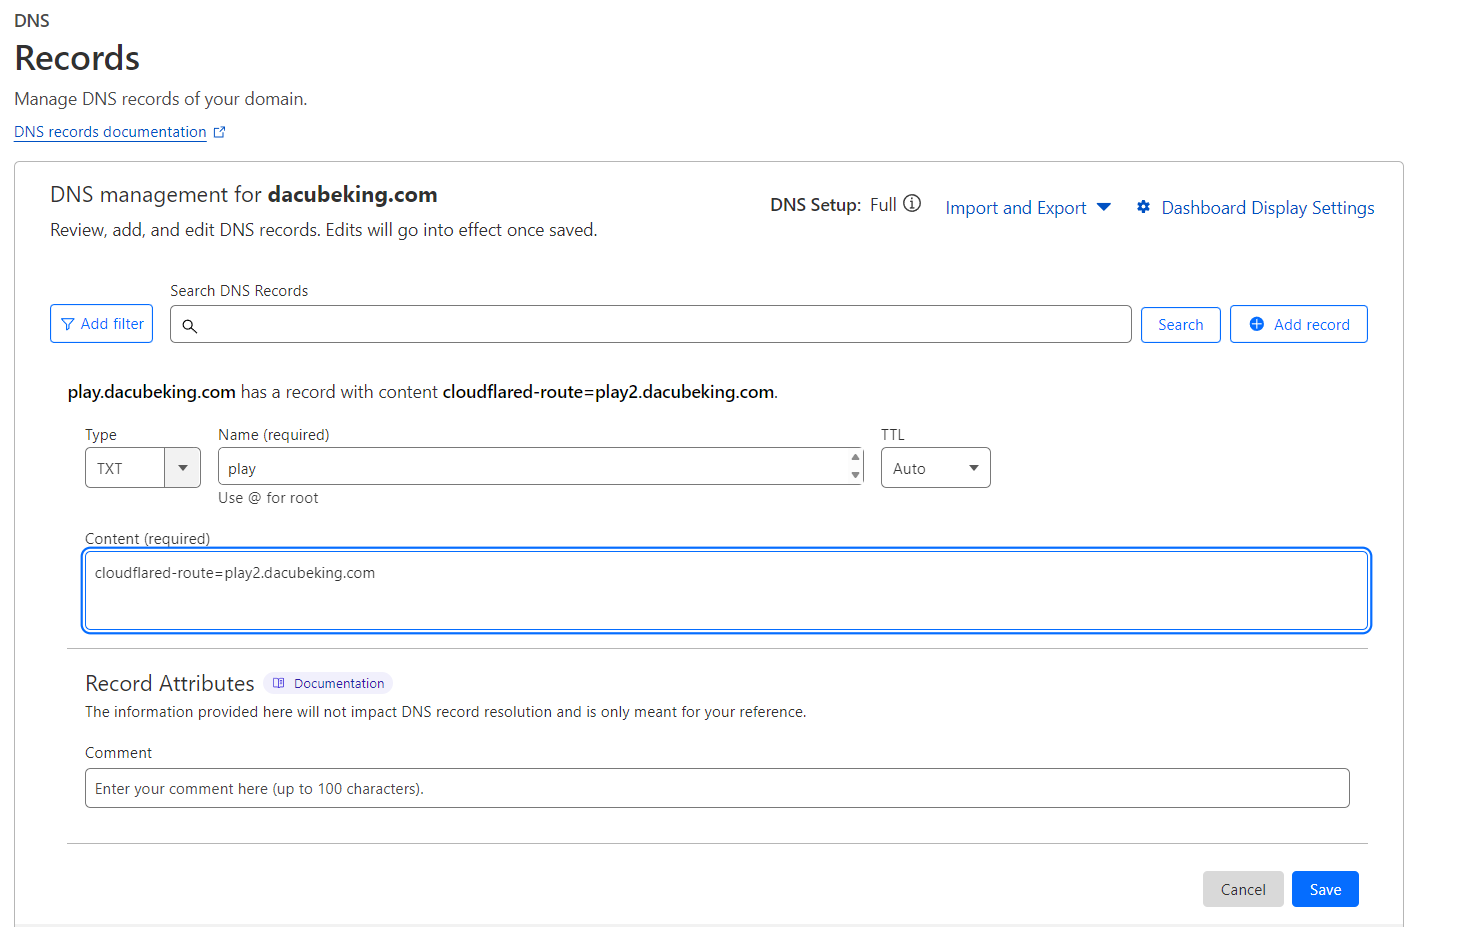
Here we’ll set the
TypetoTXT, theNameto subdomain that we want users to connect to. (I’m usingplay). Set theContenttocloudflared-route=YOUR_PUBLIC_HOSTNAME_FOR_YOUR_TUNNEL(I’m usingcloudflared-route=play2.dacubeking.com)This will tell Modflared to create a tunnel to
YOUR_PUBLIC_HOSTNAME_FOR_YOUR_TUNNELwhen the user tries to connect toplay.dacubeking.com(or whatever subdomain you’ve chosen)
A note on creating a fake server
To help my players connect to my server I’ve created a fake server that instructs them to download Modflared.
Oracle will actually give you a free server (forever). I’m using one of their micro instances to host my fake server and you can get one here
I’m then just running this python server on it and have a DNS only record on play.dacubeking.com that points to the IP of my fake server.